Content (DLC & Title Updates)
Xenia Manager installs DLC and Title Updates (TU) without launching Xenia. It understands Xbox 360 content packages (STFS containers and related formats) and places them where the emulator expects them.
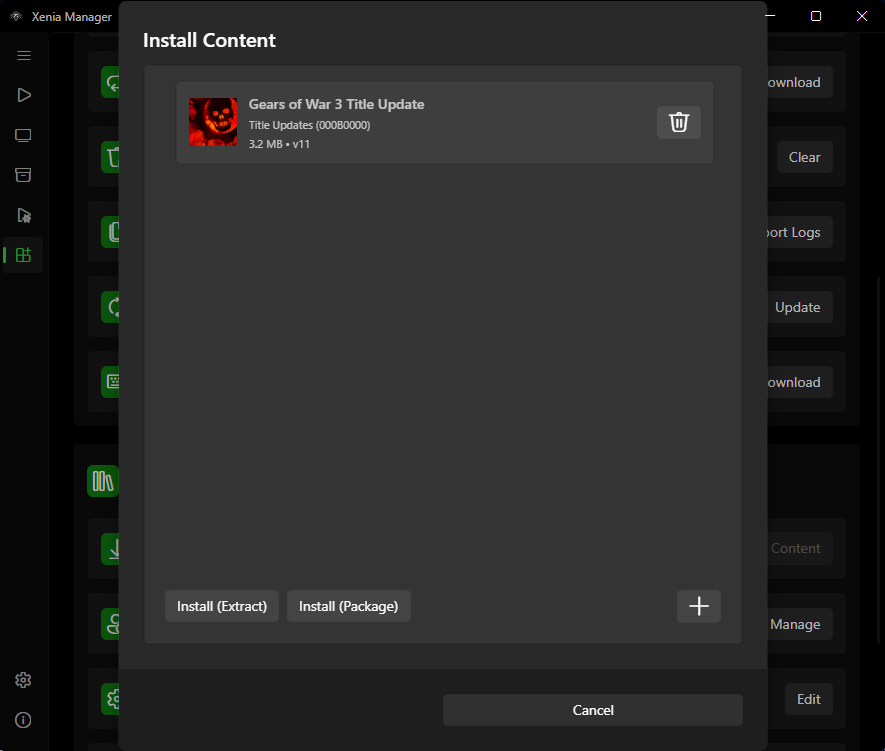
Where Content Lives: Unified vs. Per-Emulator
Two modes, controlled by Unified content folder on the Manage page:
- Per-emulator (default, off): content goes into each variant's own folder, e.g.
Emulators/Xenia Canary/content/<TitleID>/.... Use this when different variants need different content sets. - Unified (on): content goes into
Emulators/Content/shared by all variants. Use this to avoid storing the same 10 GB DLC three times for Canary + Mousehook + Netplay.
Switching modes migrates your already-installed content automatically after a confirmation prompt (requires Administrator rights on an NTFS drive) - verify the result in the Content Viewer afterwards.
Installation Method: Folder vs. Package File
When installing, you choose one of two methods (stored per operation):
| Method | What it does | When to use it |
|---|---|---|
| Extracted folder | Extracts the package contents into Xenia's directory structure | Default. Compatible with every Xenia version |
| Package file | Copies the package file into Xenia's content directory as-is | Only on Canary builds with XContent package support. Faster and cleaner, but unsupported builds will ignore the file |
If installed DLC does not appear in-game and you used Package file mode, reinstall as Extracted folder first - that rules out the most common cause.
Installing Content
- Open the Manage page and click Install Content. At least one emulator variant must be installed first.
- If several variants are installed and the unified content folder is off, pick which variant to install for (with unified mode on, one install covers all variants).
- Pick the package file(s) from disk (DLC / TU containers you dumped from your own console).
- Choose the installation method (Package files unless you know your build doesn't support it yet).
- Confirm. The Manager parses the container and copies/extracts it into the
content/<xuid>/<TitleID>/tree named by the package's own Title ID. - Launch the game - the content should be visible in-game (some titles require the latest TU before DLC unlocks). Verify it landed via the Content Viewer (right-click the game → Content views).
Tip
Install the Title Update first, then DLC. Several games refuse to load DLC when the matching TU version is missing.
Content Viewer
The Content Viewer shows everything installed for the selected game, split into four views - one per data type. Each lists package names, Title IDs, sizes, and install locations. Use it to:
- Verify an install actually landed where expected.
- Remove individual entries without touching the rest (Delete All clears the current view after confirmation).
- Spot mismatches (content for Title ID
Xinstalled under gameY- usually a wrong-file mistake). - Open Content Directory reveals the underlying
{Content}/{XUID}/{TitleId}/{ContentType}/folder in Explorer.
Removal deletes the content files from disk; your source packages elsewhere are untouched.
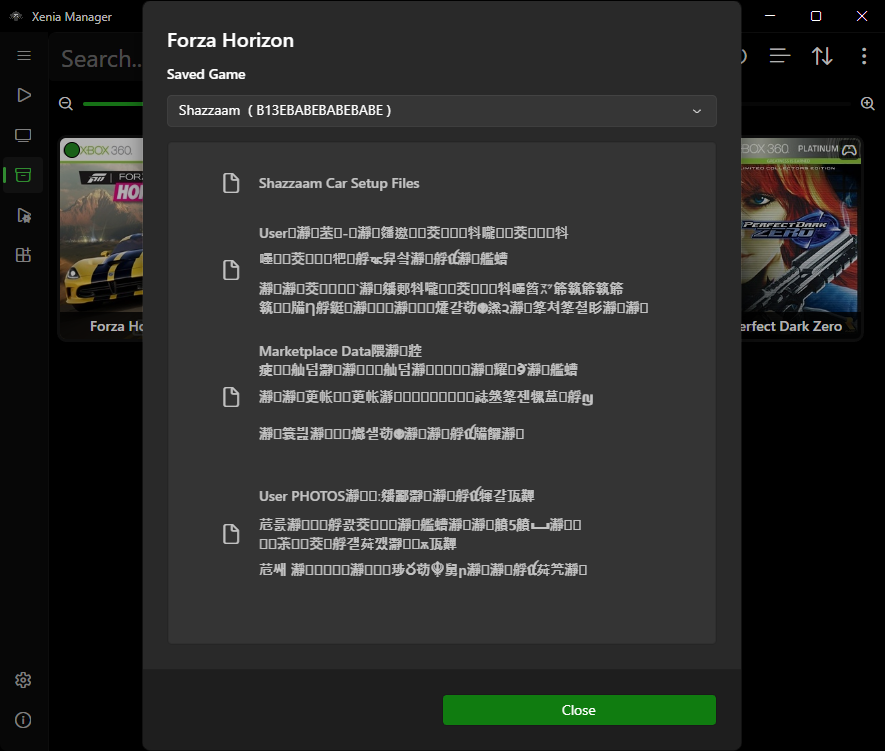
Per-profile save data for the selected game. Save import/export (*.xsave / *.zip) lives in this view - see Profiles & Saves for the full flow.
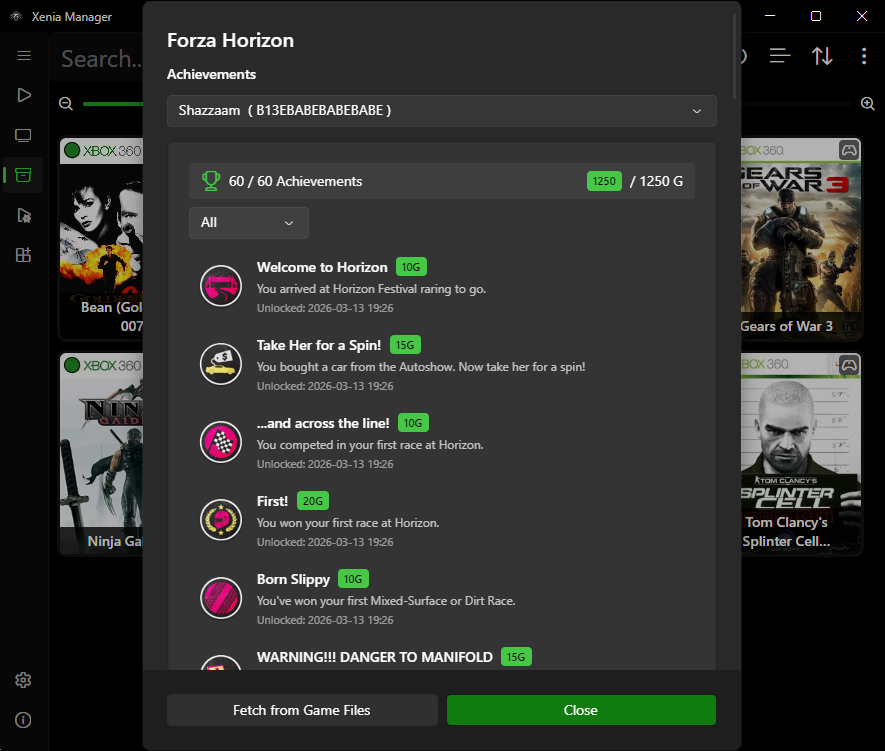
The Achievements view reads the game's GPD ({TitleId}.gpd) for the selected profile. Beyond viewing, it can pull missing data straight from your game files and toggle unlock state:
- Fetch Achievements from Game Files - builds a missing
{TitleId}.gpd(plus the profile entry inFFFE07D1.gpd) from the SPA data embedded in the disc. Works with ISO/XISO, SVOD, STFS, XEX, and ZAR sources. Missing entries are added; existing entries and unlock state are left untouched. Strings follow the profile's console language with fallback to the SPA default. - Fetch from Game Files - refreshes an existing GPD from the disc (multi-disc games ask which disc to read first). Pick one per run: Missing images, Unlocked images only, Overwrite all images, or Achievement strings (names/descriptions).
- Unlock / Lock - toggles individual achievements (or all at once) in the GPD. Useful for testing or restoring state; takes effect next launch. To inspect the files this reads, see Browse Game Files.
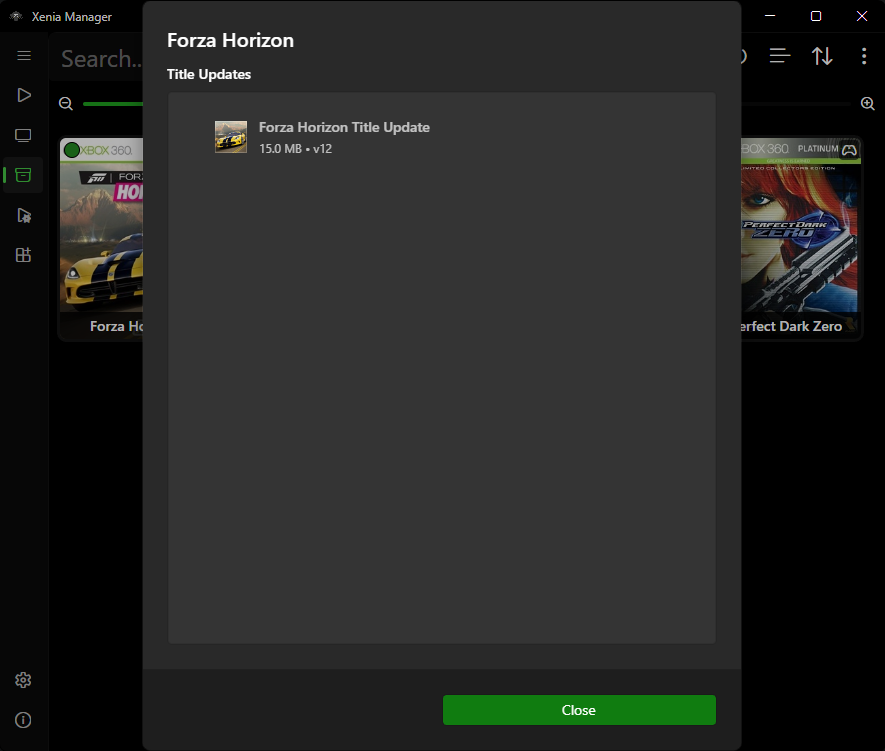
Installed Title Update packages for the selected game. If DLC refuses to load in-game, check here first and confirm the matching TU is installed - several titles ignore DLC without it.
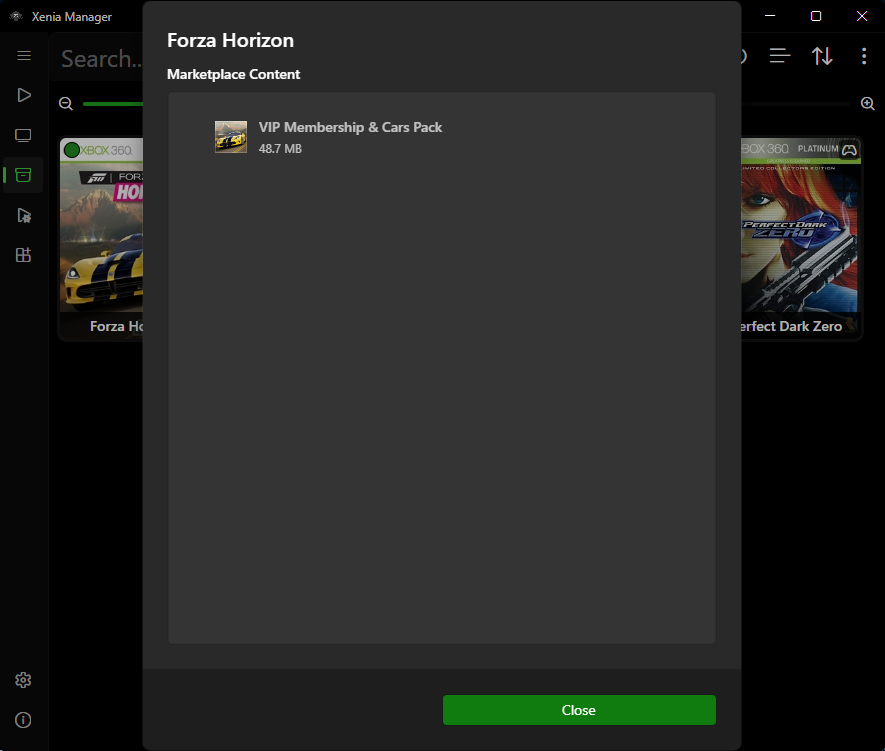
Installed DLC packages for the selected game. DLC is keyed by Title ID and region - content from another region/edition will list here but may not unlock in-game (see Multi-Disc and Title ID Notes).
Screenshots and save backups
Two related right-click actions are folder openers, not viewers:
- Screenshots opens
Emulators/<Variant>/screenshots/<TitleID>/in Explorer. If the folder does not exist yet (no screenshots taken), the Manager shows a notice instead. - Save Backups opens
Backup/<Title>/Game Saves/in Explorer. It only exists when automatic save backup has run at least once.
Multi-Disc and Title ID Notes
- DLC is keyed by Title ID, not disc. For merged multi-disc entries, install once - all discs share it.
- If two regions/editions of a game have different Title IDs, their content is not interchangeable. Match the DLC region to your dump's Title ID (visible in the Details editor).
- The Manager does not validate Title IDs on install and cannot validate region-specific incompatibilities - when in doubt, keep DLC from the same region as the game.
Troubleshooting
- Content installed but not visible in-game - (1) confirm you installed for the right Title ID, (2) try Extracted-folder mode, (3) install the matching TU, (4) check unified vs. per-emulator folder confusion. Full checklist: Troubleshooting.
- Install fails to parse - the source package is likely corrupt or truncated. Re-dump/re-copy it; the Manager only reads what is there.